Tag: electrical

  • Replacing Outlet and Switch Covers

    Replacing Outlet and Switch Covers

    by Craig Dunman, Master Electrician

    Swapping out your outlet and light switch covers is one of the simplest ways to clean up a space. If the old ones are cracked, stained, or painted over from a rushed remodel or “landlord special,” replacing them makes an immediate difference. It’s a quick project — no special tools, no license required. Just grab a screwdriver, press play on your favorite podcast, and set aside a few minutes per room. You’ll be surprised how much fresher everything looks once those old plates are gone.


    Tools needed:

    • Flathead Screwdriver
    • Optional: Voltage Tester 
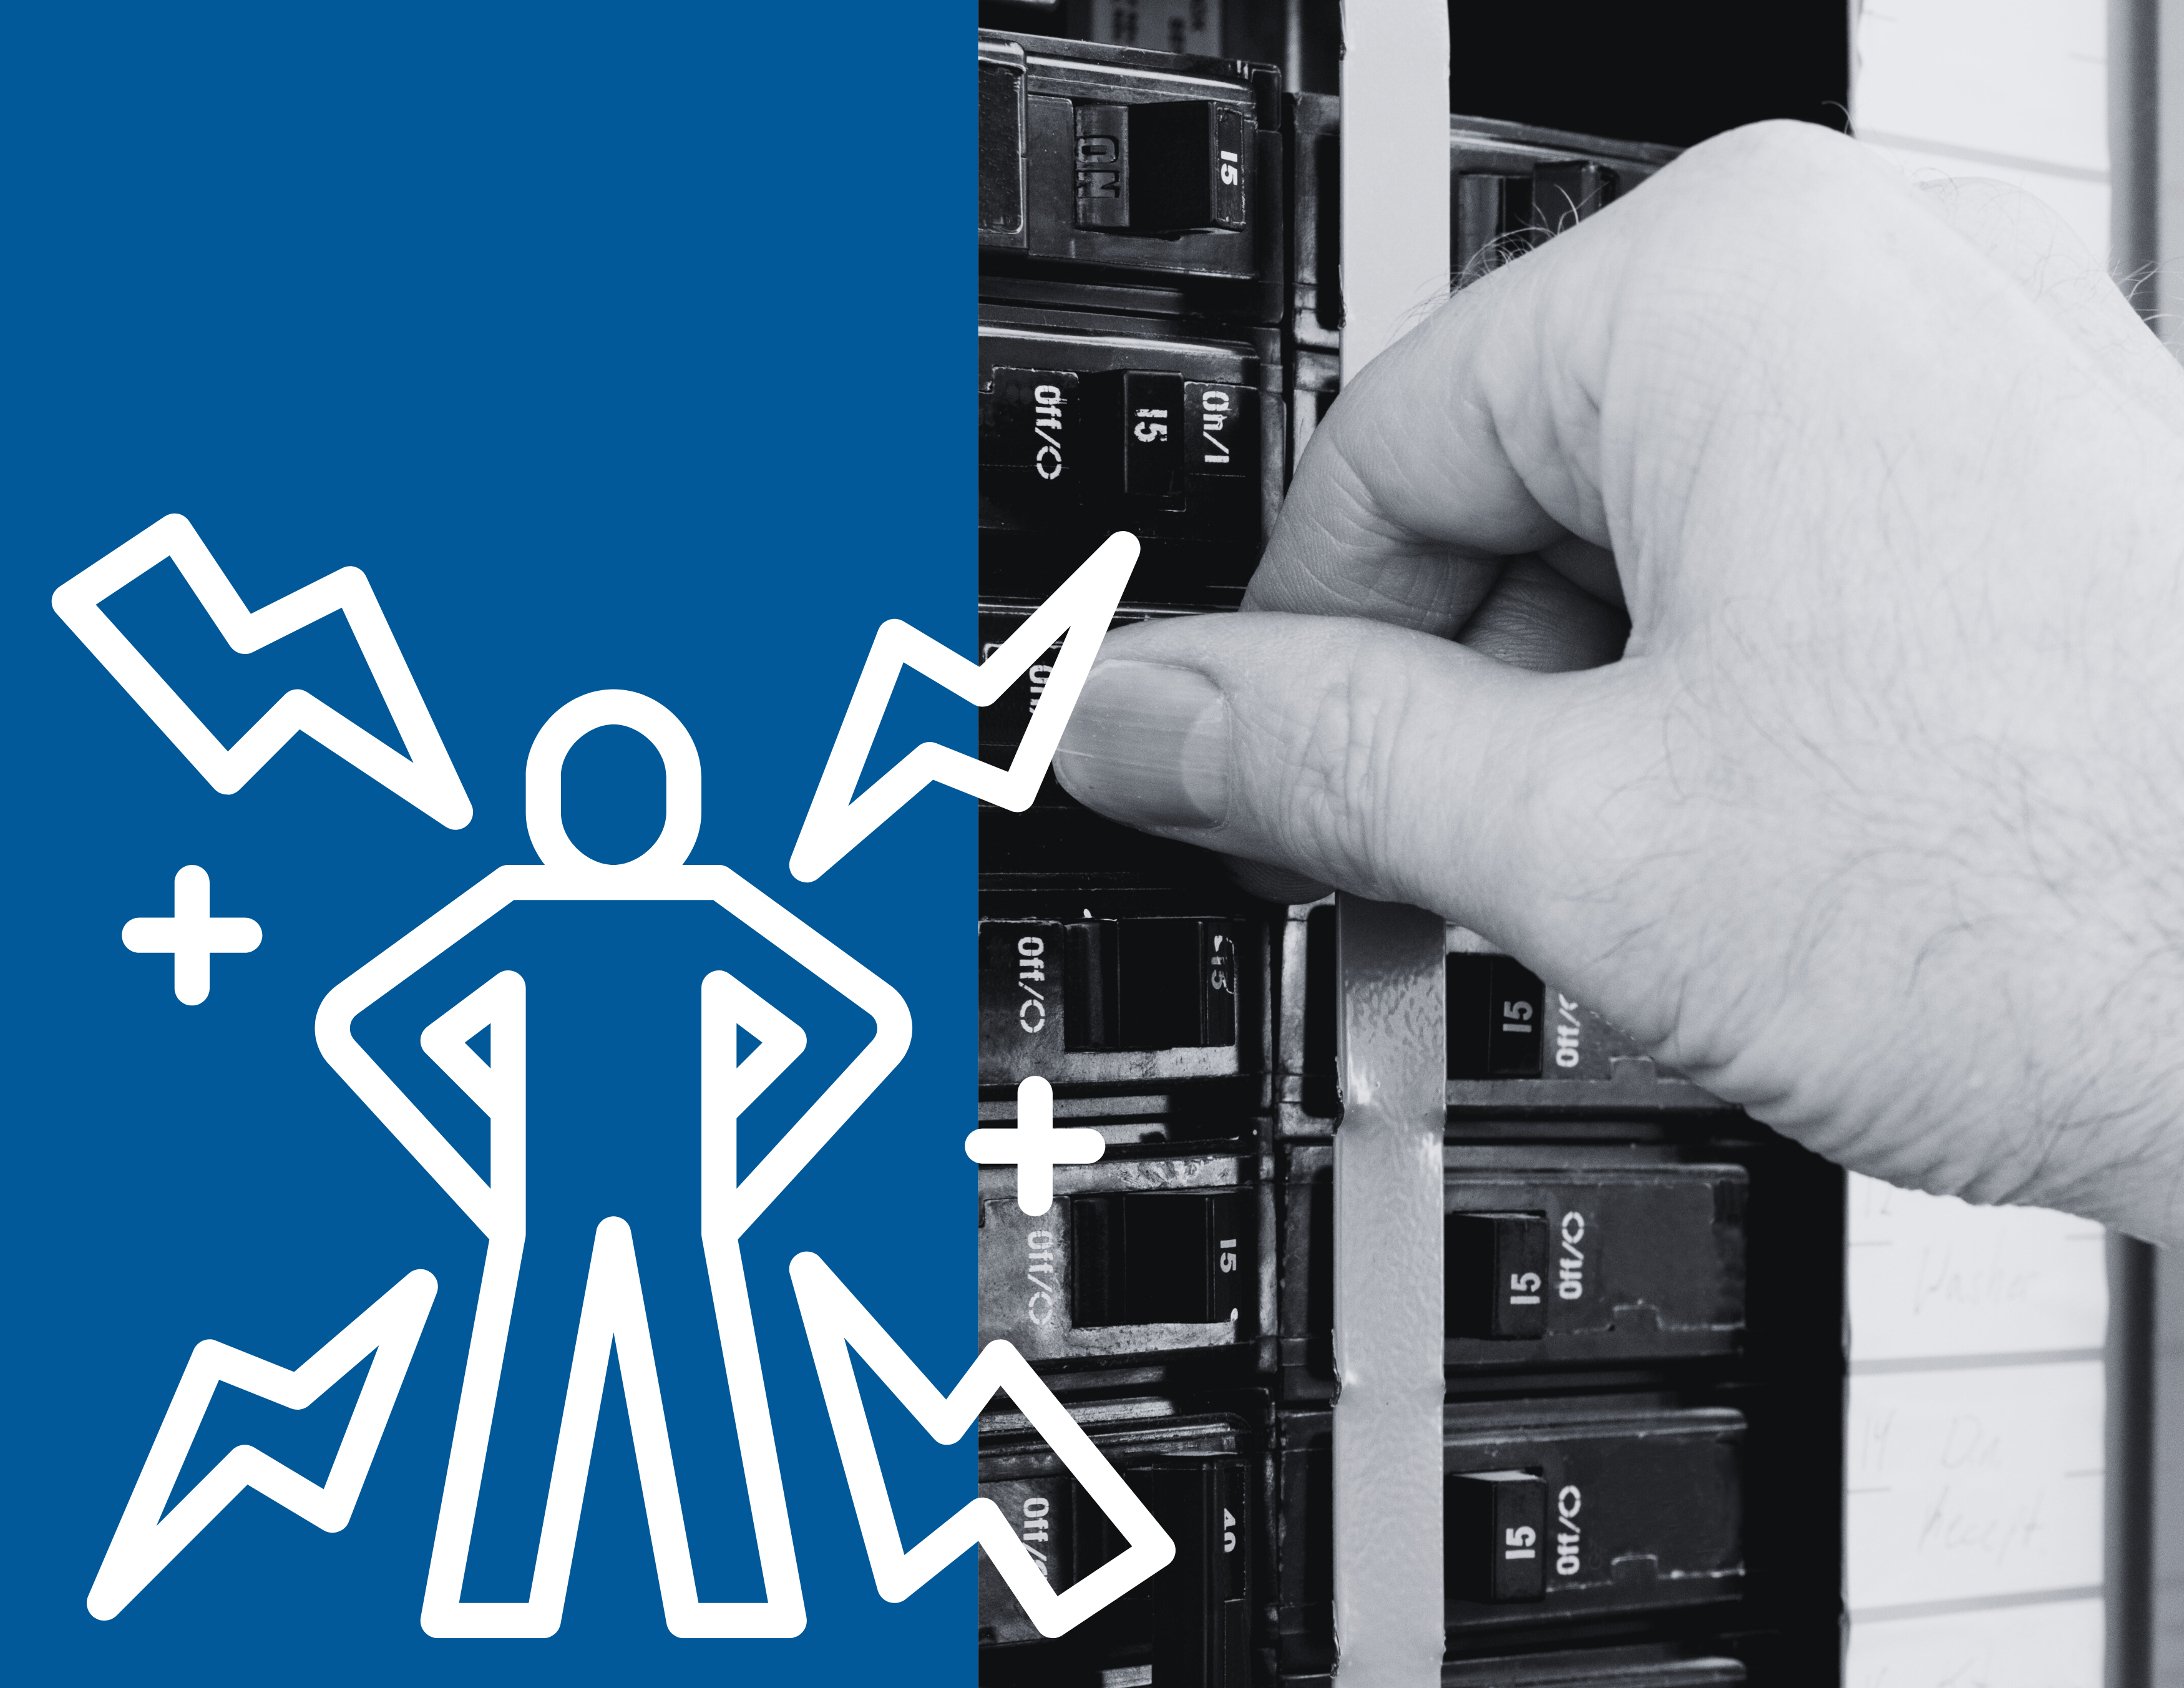
    Is this safe to do?

    Yes! As long as you’re working with just the cover plate, not the outlet or switch itself, this is entirely safe for you to do on your own! That plastic faceplate is just a shield. You’re not dealing with wires, terminals, or anything live unless you go poking around underneath, which you should not be doing.


    Step-by-step:

    1. Start smart.

    Go ahead and unplug anything that’s plugged into the outlet that you’re working on. From there, it’s smart to flip the breaker for that part of the house to ‘off’ just as an added precaution.

    If you have a voltage tester, now is the time to use it to double-check that there’s no power at the outlet before you get started. This part is optional, but helpful if you want that extra layer of reassurance.

    Even though you’re just changing the cover and not messing with any wiring, cutting the power takes about ten seconds and keeps things simple.


    2. Unscrew the old plate.

    Use a flathead screwdriver. Most plates have a single screw in the center. Keep the screw if you’re reusing it, or swap it out with the one from the new plate.

    Illustration of a flathead screwdriver on a blue background with the label 'Flathead'.


    3. Check the area around the outlet or switch.

    You should see a snug box in the wall with no loose wires. If anything looks burnt, cracked, or melted, pause here. That’s not a cosmetic fix anymore. You will need to give a licensed electrician a call. If everything looks good, move on to the next step!


    4. Attach the new cover.

    Line it up and screw it in gently. Don’t over tighten. Snug is enough. Overdoing it can crack the plate or twist the switch behind it.


    5. Test it.

    Flip your breaker back on if you flipped it off in step 1. Turn the light back on or plug something in. If everything works as expected, you’re good to go!


    Tips & Tricks of the Trade:

    • Match styles across the room or house. Clean lines go a long way.
    • Nylon plates are stronger than the old brittle kind and won’t crack as easily.
    • Paintable plates help them blend into the wall if you’re going for a seamless look.
    • Screwless options are great for a modern feel — just make sure the base plate lines up clean.

    When not to DIY this:

    If the outlet is loose, if anything sparks or smells off, or if you see exposed wires moving when the cover comes off — STOP That’s the point where a licensed electrician should take over. Otherwise? This one’s all you. Simple, fast, and surprisingly satisfying.

    If you are running into exposed wires, sparks, and odd smells OR you simply don’t want to bother with all of the fuss, give us a call and we’ll get it taken care of for you!

    (512)280-8847 . becky@dunmanelectric.com . contact us

  • Texas Storm Prep 101

    Texas Storm Prep 101

    Protecting Your Electrical System

    Texas storms don’t play. One minute it’s sunny, next minute you’ve got tumultuous rain, lightning strikes, and the power’s out. Wind, water, blown transformers—your electrical system takes the hit. Here’s how to prep without overthinking it:


    1. Charge the Essentials — Now, Not Later

    Storm’s not here yet? Good. Plug in your phone, backup chargers, power banks, tablets…If you want it to work later, plug it in now! Make sure to unplug your electronics and countertop appliances when lightning starts.

    * Use power-saving mode on your phone just in case.

    * Keep battery-powered flashlights in your most-used rooms.

    * Stock fresh batteries in a known, dry place.


    2. Unplug What You Don’t Need

    Lightning surges can fry your electronics in seconds. If it doesn’t need to be running, unplug it.

    * Focus on TVs, computers, gaming consoles, routers, and countertop appliances.

    * Leave essentials like the fridge plugged in.

    * Don’t wait for the flicker—do it before the storm rolls in.


    3. Surge Protect Like You Mean It

    Not all power strips are surge protectors. Check your gear.

    * Look for the UL 1449 rating and a joule rating of at least 800.

    * Move critical devices (routers, modems, entertainment setups, office equipment) to real surge protectors—not $5 strips from the junk drawer.

    * If your surge protector’s older than five years or has taken a hit before, replace it!

    At Dunman Electric, we install whole-house surge protectors, so if you don’t want to worry about this step in the future, give us a call! (512)280-8847


    4. Know Your Breaker Panel

    Power cuts and lightning strikes can trip breakers. You need to know how to reset them safely. We have a guide to resetting your breakers here!

    * Never touch the panel with wet hands or while standing in water.

    * Keep a flashlight or battery lantern near the breaker at all times.

    * Reset breakers one at a time.

    * If one keeps tripping after reset, something’s wrong. Call a licensed electrician.


    5. Using a Generator? Know the Rules.

    If you’re running a generator, follow safety protocol.

    * Set it up outside— never in a garage or near vents.

    * Plug devices directly into the generator unless you have a transfer switch installed.

    * Let it cool fully before refueling. Hot engine +gas = explosion risk.


    6. After the Storm: Walk the House

    Once the storm has passed and lightning has not struck within 10 miles of your home for 30 minutes, do a walkthrough.

    * Sniff for weird smells.

    * Check for melted outlets, scorch marks, or anything that looks off.

    * Check your breaker panel again.

    * If something doesn’t look or smell right, or breakers keep tripping, stop and call a licensed electrician ASAP.


    You don’t have to be an expert. Just take simple steps, in the right order, before the storm hits. Taking these steps will save you time, money, and a potential electrical fire.

    Learn more about our Power & Protect Promo bundle to protect your home’s electrical system and gain peace of mind today!

    (512)280-8847 . becky@dunmanelectric.com . contact us

  • 2nd Generation Electrician, Cody D.

    2nd Generation Electrician, Cody D.

    TEJE#543541

    Cody Dunman is a journeyman electrician at Dunman Electric and part of the second generation of our family-owned business.He is the son of our owners, Craig and Becky Dunman. Ever since he was a little boy, Cody has known he wanted to do electrical! He spent many hours tagging along with his dad to work sites and learning the trade before becoming a licensed journeyman at just 19 years old.

    Young Cody stands ready to learn electrical with his tool belt and Dunman Electric shirt on.
    Teenaged Cody, ready to work with Dad.

    Cody is a triathlete and a runner. He enjoys training, snowboarding, ice hockey, and trail rides with his horse, Pistol, when he isn’t working. He’s married to Kayla D., who works on our office team, and is a devoted dad to their daughter. At home, his dog Major, a GSP and Cody’s dream dog, isn’t just a pet-he’s treated like a son. In his off-time, Cody even built him a miniature version of his and Kayla’s home complete with AC, heat, and security cameras.

    Cody with his wife Kayla and their daughter.
    Cody holds his bike over his head in front of the Ironman Hawaii signage.
    Cody at his first Iron Man event in Hawaii

    Loved your service with Cody? Leave us a Google review and mention Cody by name—technicians with standout reviews are eligible for bonuses!

  • DIY Homopolar Motor; The Lorentz Force in Action

    DIY Homopolar Motor; The Lorentz Force in Action

    Today, we will be exploring the Lorentz Force and how you can use it to create your very own simple motor using electricity and magnetism! All you need to get started is 18 gauge copper wire, 1 AA battery, 1-2 disc magnets, wire cutters, and some pliers! Remember to ask an adult for help with cutting your wire!

    An instructional graphic showing the materials needed to create a homopolar motor, including copper wire, a AA battery, disc magnets, wire cutters, and pliers, along with step-by-step directions for assembly.
    An educational graphic explaining the Lorentz force and how it relates to a homopolar motor, featuring diagrams and text describing electricity, magnetism, and motion.

    We’d love to see your completed projects! Email us ( admin@dunmanelectric.com )a photo of your homopolar motor with your name and age to enter our monthly raffle for a Snap Circuits Explorer kit!

  • Resetting Your Circuit Breaker Safely

    Resetting Your Circuit Breaker Safely

    by Craig Dunman, Master Electrician

    What Is a Circuit Breaker?

    A circuit breaker is a safety device in your electrical panel that automatically shuts off power to a specific circuit when it detects an overload or fault. Think of it as a guardian of your home’s wiring. If a breaker trips, it’s doing its job—stopping electricity before it can cause overheating, damage, or even a fire.

    Circuit breakers replace older fuse systems and are now standard in modern homes. Each breaker is connected to specific areas or appliances in your home: kitchen outlets, air conditioners, lighting circuits, etc.

    How Does a Breaker Work?

    Breakers are designed with thermal and magnetic mechanisms that sense unsafe conditions:

    • Thermal Trip (Overload Protection): A bimetallic strip heats up and bends as current exceeds safe levels. This bending eventually trips the switch.
    • Magnetic Trip (Short Circuit Protection): A sudden surge, such as from a direct short, activates an internal electromagnet that instantly trips the breaker.

    Each breaker is rated for a certain amperage—commonly 15, 20, or 30 amps. Exceeding that number, even momentarily, will trip it.

    Why Do Breakers Trip?

    Some common reasons include:

    • Overloaded circuits – Too many devices on one circuit (e.g., space heater + microwave).
    • Short circuits – A hot wire touches a neutral or ground, causing a surge.
    • Ground faults – Similar to a short, but involves unintended contact with a ground path.
    • Worn-out breakers or wiring – Age, damage, or improper installation can cause nuisance trips.

    If a breaker trips once, it may just be a fluke. But if it happens again, there’s likely a deeper issue.

    How to Safely Reset a Tripped Breaker

    If your power goes out in one part of the house, follow these steps:

    1. Find your electrical panel. It’s usually in a garage, utility closet, or outside.
    2. Look for a breaker that’s in the “off” or middle position. A tripped breaker will often look slightly out of line with the others.
    3. Firmly switch it to the “off” position. Then back to “on.” You must do this in two distinct steps.
    4. Test your power. If it comes back on, you’ve successfully reset it.

    ⚠️ IMPORTANT: If the breaker trips again immediately, do not keep resetting it. You’re likely dealing with a more serious issue. ⚠️

    When to Call a Licensed Electrician

    Here’s when it’s best to leave it to the pros:

    • A breaker trips repeatedly, even after unplugging devices.
    • You smell burning or hear buzzing from the panel.
    • The panel is hot to the touch or shows corrosion.
    • Lights flicker or dim when major appliances start.
    • You don’t know what’s causing the trip, or just want peace of mind.

    Remember: Breakers trip for a reason. Continuously flipping them back on without fixing the root issue can be dangerous.

    Bonus Tip: Label Your Breakers

    Many homeowners don’t know which breaker controls what. Take time to label them clearly—this saves time during an outage and helps electricians work more efficiently when needed. This is also a service we offer here at Dunman Electric. Or you can read our article on how to label your panels on your own.

    Whether you’re dealing with a stubborn breaker, need panel upgrades, or just want a professional inspection, Dunman Electric has you covered. Our licensed electricians bring decades of experience, and we’re happy to help you learn how to keep your home safe and efficient.

    📞 Call us today or book online for prompt, reliable service.

    (512)280-8847 . becky@dunmanelectric.com . contact us

  • Essential Guide to Labeling Your Breaker Panel

    Essential Guide to Labeling Your Breaker Panel

    by Craig Dunman, Master Electrician

    Why Labeling Your Breaker Panel Is Important

    Your breaker panel is the command center for your home’s electrical system — but if the circuits aren’t labeled clearly, it becomes a guessing game.

    In an emergency, during repairs, or when installing new equipment, knowing exactly which breaker controls what can save time, prevent injury, and avoid damage to your appliances or wiring. A clearly labeled panel is one of the simplest ways to make your home safer and more manageable.

    Whether you’re a new homeowner or just never got around to organizing it, labeling your panel is something you can do yourself!

    What You’ll Need

    Before you begin, gather the following supplies:

    [] A second person (for faster and more accurate testing)
    [] Sticky notes or masking tape (for temporary labels)
    [] Permanent marker (fine tip works best)
    [] Notepad or printed circuit map
    [] Plug-in device (lamp or outlet tester)
    [] Phone or camera (to document your final layout)

    What Is a Circuit Map?

    A circuit map is a written list or diagram that shows which circuit breaker powers which part of your home. This may be printed on the panel door, written on paper, or created digitally. Other terms for a circuit map include “Panel Schedule” or “Circuit Breaker Directory”. A complete map should include:

    • The breaker number or position
    • A specific description (For example: “Kitchen – Island Outlets” or “Master Bedroom – Lights”)
    • Notations for special circuits like 240V appliances, smoke detectors, or outdoor outlets

    This map is your reference guide for resetting breakers, shutting off electricity fast in an emergency, and helping service professionals do their jobs quickly and correctly.

    Step-by-Step: How to Label Your Breaker Panel

    1. Start with Safety

    You will not be touching live wires, but you’ll be working inside the breaker panel. Stand on a dry surface, make sure your hands are dry, and only open the panel door — do not remove the metal cover or access the internal wiring.

    2. Turn Off One Breaker at a Time

    Have one person at the panel and the other inside the home. Flip a breaker off, then walk the home and check which lights, outlets, or appliances have lost power. Use a plug-in lamp or tester for quick verification.

    3. Record What You Find

    As each breaker is tested, write down everything it controls. Be as specific as possible — “Front Hall Light” is more useful than “Lights.”

    Use sticky notes or tape to temporarily label each breaker directly on the panel.

    4. Check Everywhere

    Don’t forget:

    • Closets, bathrooms, and hallways
    • Garage, attic, and crawlspaces
    • Exterior outlets and lighting
    • Dedicated appliances (A/C, dryer, oven, water heater)
    • Smoke and carbon monoxide detectors
    • GFCI and AFCI protected areas

    These may each be on their own circuits.

    5. Apply Permanent Labels

    Once every circuit has been identified, use your notes to create clean, permanent labels. Most electrical panels have a printed directory inside the door — fill this out legibly.

    Then, take a photo of the finished panel. Keep one copy in your home files and one on your phone.

    Tips from a Master Electrician

    • Use consistent language throughout the panel.
    • Be as specific as possible.
    • Group related areas (kitchen circuits together, bedrooms in sequence).
    • Update your labels any time changes are made.

    What If You’d Rather Have It Done Professionally?

    We get it! Not everyone wants to spend a weekend testing outlets and writing notes. At Dunman Electric, we offer full breaker panel labeling services.

    Here’s what we do:

    • Test every circuit in your home
    • Create accurate, specific labels
    • Provide a clean, printed and/or digital circuit map
    • Flag any outdated, overloaded, or unsafe conditions we find during the process

    Whether you’re moving in, upgrading your system, or just want things done right, we’re here to help.

    Call us today to schedule your breaker labeling service — or ask about bundling it with a full safety inspection or panel upgrade.

    (512)280-8847 . becky@dunmanelectric.com . contact us