In today’s project you can get your hands dirty and learn about circuits at the same time! Follow our step-by-step instructions to create your own dirt battery using just dirt, copper wire, galvanized steel screws, an ice tray, LED diodes, and….a lemon?
We’d love to see your completed projects! Email us ( admin@dunmanelectric.com) a photo of your dirt battery with your name and age to enter our monthly raffle for a Snap Circuits Explorer kit!
We’re big fans of helping you beat the Texas heat. All month long, get $50 off any ceiling fan installation + with any service call in August, we’ll balance and check the direction of your existing fans for free!
It’s August in Texas, and the AC is doing most of the heavy lifting to keep your home livable. A ceiling fan can make the difference between feeling comfortable and sweating through the night, but only if it’s set up and running the right way.
1. Blade Direction Is Critical
In summer, ceiling fan blades should spin counterclockwise when viewed from below. This pushes air downward, creating a wind chill effect that makes you feel cooler, even though the actual room temperature hasn’t changed.
Quick check: stand under the fan. If you can feel a steady breeze hitting you, it’s turning the right way for summer. No breeze? Flip the direction switch on the motor housing.
2. Balance Protects the Motor and Your Comfort
A wobbling fan isn’t just noisy. It is slowly shaking itself apart. That vibration puts extra strain on the motor bearings, loosens blade screws, and can even cause wiring fatigue over time.
Common causes of imbalance include • Dust buildup on one or more blades • Loose blade or mounting screws • Blade pitch slightly off between blades
Balancing the fan keeps it running smoothly, moves air more efficiently, and helps the motor last longer.
3. Excess Heat Is a Motor Killer
A fan motor should feel warm, not dangerously hot or give off a burnt smell. If it’s running hotter than normal, one or more of these may be happening:
• Overload: Worn bearings or unbalanced blades make the motor work harder, drawing more amps and generating more heat
• Poor ventilation: Dust inside the motor housing traps heat
• Voltage drop: Low voltage on an overloaded circuit forces the motor to work harder to maintain speed
• Insulation breakdown: For every ~18 °F the motor runs above its rated temperature, insulation life is roughly cut in half
If the motor housing is too hot to touch comfortably or you detect an electrical odor, that’s a sign of developing failure. Addressing it early can mean a quick fix instead of a full replacement.
4. Fans Don’t Cool the Room They Cool You
Ceiling fans don’t reduce the ambient temperature of the air in a room. Instead, moving air speeds evaporation of sweat and increases heat loss from your skin, so you feel cooler. That effect means you can raise your thermostat by around 4 °F while staying comfortable, which can reduce AC use by up to 30% during the cooling season. If nobody’s in the room, turn the fan off to conserve energy because it won’t have any cooling effect without someone there to feel it.
5. When It’s Time to Replace
If your fan is more than 10 to 12 years old, still wobbles after balancing, or has a grinding motor noise, it’s often more cost effective to replace it than repair it. Newer fans often have better blade pitch, improved motor efficiency, and quieter operation.
Bottom line: In peak summer heat, a properly installed, balanced, and correctly set ceiling fan keeps you more comfortable, reduces strain on your AC, and prevents unnecessary wear on your equipment.
August Special
All through August: • $50 off any ceiling fan installation • Free balancing and blade direction check add on with any service call!
Whether you need a brand new fan installed or just want to make sure the ones you have are working at their best, we will make sure you’re set up for maximum comfort before the month is over.
Offer ends August 31. Book now to lock in your savings.
The Texas power grid isn’t just unreliable — it’s become a liability. Anyone who lived through the 2021 Winter Storm Uri, the rolling blackouts of February 2022, or last year’s June ERCOT emergency notices knows this firsthand. The infrastructure simply can’t handle demand spikes or severe weather. That means high winds, lightning, power surges, and unexpected outages — year after year.
So let’s talk about what actually keeps your home running when the grid gives out: Automatic transfer, manual transfer, and portable generators — and the one thing nearly everyone forgets: whole-home surge protection.
Manual Transfer Generators
What they are: A hardwired backup generator that requires you to start it manually and flip a transfer switch to power certain parts of your home.
How it works: These run on propane, diesel, gasoline(in very specific installs), or natural gas and are installed outside the home. When the utility power fails, you physically start the generator and activate the manual transfer switch, which reroutes power to a secondary panel. Only the circuits wired to that panel will come online — usually essentials like lights, fridge, freezer, and maybe a few outlets or your HVAC (if it’s sized right).
Best for: Homeowners who want dependable backup without the higher cost of an automatic system, and who don’t mind going outside when the weather gets bad.
Automatic Standby Generators
What they are: A fully automated backup system that detects outages and powers your home within seconds — even if you’re not there.
How it works: The generator is connected to your natural gas or propane line and wired into your main service panel. When the grid fails, the automatic transfer switch (ATS) kicks in and reroutes your entire home’s power through the generator. When power is restored, it flips back to the utility feed, all without you lifting a finger.
Best for: Homeowners who want uninterrupted power during storms or blackouts — especially those with freezers, medical equipment, sensitive electronics, or small children. These are also ideal for work-from-home setups where downtime costs money.
Portable Generators with Quick-Connect Kits
What they are: Small gas-powered generators that you can roll out and connect to your home with a properly installed inlet box and interlock kit.
How it works: You manually start the generator and plug it into a designated outdoor inlet. From there, you flip specific breakers to transfer power to essential circuits. It’s not a whole-home solution, but it’s enough to run the basics if properly installed.
⚠️ Critical Safety Warning:⚠️
A generator should only be connected through a dedicated outdoor inlet box, with a panel interlock or manual transfer switch installed by a licensed, bonded, and insured electrical contractor. This ensures your main breaker is disabled while the generator is live, preventing dangerous backfeed into the grid. Installing any generator power source without an appropriate interlock kit is illegal, violates the National Electrical Code, and can energize utility lines, potentially killing linemen working to restore power.
Best for: Budget-conscious households that still want to avoid being completely in the dark during a storm.
Why Surge Protection Matters More Than You Think
Backup power is only half the equation. What most people don’t realize is that power restoration events, lightning strikes, and utility grid fluctuations can fry electronics long before the lights go out.
What it is: A whole-home surge protector is a panel-mounted device that intercepts high-voltage spikes before they hit your circuits. These surges can be caused by lightning, utility switching, or damaged transmission lines.
What it protects: Everything downstream — including your refrigerator, HVAC, smart TVs, computers, EV chargers, solar inverters, pool equipment, and security systems. If it’s plugged in, it’s at risk.
Fact: Surge damage is not covered by most warranties. And those $15 power strips? They don’t cut it. You need layered defense:
Whole-home surge protection at the panel
Secondary protection at the outlet (plug-in strips)
If you’ve ever:
Replaced an AC board after a storm
Lost a smart TV or modem randomly
Had to reset half your house after a flicker
…you probably needed this yesterday.
How to Decide
We install manual, automatic, and portable quick-connect generator systems. We also retrofit homes for surge protection, check panels for age and load issues, and walk homeowners through real risk scenarios — not hypotheticals.
Right now, we’re offering a bundled, Texas-sized storm special:
$75–$500 off generator installation, depending on the type of system you choose (manual, automatic, or portable quick-connect)
plus
Whole-home surge protection installation for just $222 (normally $349)
That’s full protection — backup power + surge defense — in one package, installed by licensed professionals who do it right the first time.
Questions? Ready for a site walk? We’re licensed, local, and don’t push what you don’t need. We’ll tell you if your panel’s fine, if your wiring is outdated, or if there are any code-compliance updates you need to know about! No guesswork. No scare tactics. Just real answers.
Call (512)280-8847 or reach out to us through our Contact Us page to schedule today and receive your free estimate and POWER + PROTECT Texas Storm Bundle!
Vocabulary Glossary
Term
Definition
Generator
A machine that converts fuel into electrical power.
Manual Transfer Switch
A switch you operate by hand to shift power from the grid to your generator.
Automatic Transfer Switch (ATS)
A smart switch that detects outages and switches power automatically.
Portable Generator
A movable, gas-powered generator used for temporary backup power.
Quick-Connect Kit
A code-compliant inlet and breaker system to safely connect a portable generator.
Whole-Home Surge Protector
A panel-mounted device that blocks dangerous voltage spikes before they reach appliances.
Voltage Surge
A spike in electrical voltage that can damage or destroy electronics.
Backfeeding
When power flows the improper way, upstream, to the power company as opposed to downstream to your home.
Grid
The larger system of power lines and generation plants that provide your electricity.
Swapping out your outlet and light switch covers is one of the simplest ways to clean up a space. If the old ones are cracked, stained, or painted over from a rushed remodel or “landlord special,” replacing them makes an immediate difference. It’s a quick project — no special tools, no license required. Just grab a screwdriver, press play on your favorite podcast, and set aside a few minutes per room. You’ll be surprised how much fresher everything looks once those old plates are gone.
Tools needed:
Flathead Screwdriver
Optional: Voltage Tester
Is this safe to do?
Yes! As long as you’re working with just the cover plate, not the outlet or switch itself, this is entirely safe for you to do on your own! That plastic faceplate is just a shield. You’re not dealing with wires, terminals, or anything live unless you go poking around underneath, which you should not be doing.
Step-by-step:
1. Start smart.
Go ahead and unplug anything that’s plugged into the outlet that you’re working on. From there, it’s smart to flip the breaker for that part of the house to ‘off’ just as an added precaution.
If you have a voltage tester, now is the time to use it to double-check that there’s no power at the outlet before you get started. This part is optional, but helpful if you want that extra layer of reassurance.
Even though you’re just changing the cover and not messing with any wiring, cutting the power takes about ten seconds and keeps things simple.
2. Unscrew the old plate.
Use a flathead screwdriver. Most plates have a single screw in the center. Keep the screw if you’re reusing it, or swap it out with the one from the new plate.
3. Check the area around the outlet or switch.
You should see a snug box in the wall with no loose wires. If anything looks burnt, cracked, or melted, pause here. That’s not a cosmetic fix anymore. You will need to give a licensed electrician a call. If everything looks good, move on to the next step!
4. Attach the new cover.
Line it up and screw it in gently. Don’t over tighten. Snug is enough. Overdoing it can crack the plate or twist the switch behind it.
5. Test it.
Flip your breaker back on if you flipped it off in step 1. Turn the light back on or plug something in. If everything works as expected, you’re good to go!
Tips & Tricks of the Trade:
Match styles across the room or house. Clean lines go a long way.
Nylon plates are stronger than the old brittle kind and won’t crack as easily.
Paintable plates help them blend into the wall if you’re going for a seamless look.
Screwless options are great for a modern feel — just make sure the base plate lines up clean.
When not to DIY this:
If the outlet is loose, if anything sparks or smells off, or if you see exposed wires moving when the cover comes off — STOP That’s the point where a licensed electrician should take over. Otherwise? This one’s all you. Simple, fast, and surprisingly satisfying.
If you are running into exposed wires, sparks, and odd smells OR you simply don’t want to bother with all of the fuss, give us a call and we’ll get it taken care of for you!
Texas storms don’t play. One minute it’s sunny, next minute you’ve got tumultuous rain, lightning strikes, and the power’s out. Wind, water, blown transformers—your electrical system takes the hit. Here’s how to prep without overthinking it:
1. Charge the Essentials — Now, Not Later
Storm’s not here yet? Good. Plug in your phone, backup chargers, power banks, tablets…If you want it to work later, plug it in now! Make sure to unplug your electronics and countertop appliances when lightning starts.
* Use power-saving mode on your phone just in case.
* Keep battery-powered flashlights in your most-used rooms.
* Stock fresh batteries in a known, dry place.
2. Unplug What You Don’t Need
Lightning surges can fry your electronics in seconds. If it doesn’t need to be running, unplug it.
* Focus on TVs, computers, gaming consoles, routers, and countertop appliances.
* Leave essentials like the fridge plugged in.
* Don’t wait for the flicker—do it before the storm rolls in.
3. Surge Protect Like You Mean It
Not all power strips are surge protectors. Check your gear.
* Look for the UL 1449 rating and a joule rating of at least 800.
* Move critical devices (routers, modems, entertainment setups, office equipment) to real surge protectors—not $5 strips from the junk drawer.
* If your surge protector’s older than five years or has taken a hit before, replace it!
At Dunman Electric, we install whole-house surge protectors, so if you don’t want to worry about this step in the future, give us a call!(512)280-8847
4. Know Your Breaker Panel
Power cuts and lightning strikes can trip breakers. You need to know how to reset them safely. We have a guide to resetting your breakers here!
* Never touch the panel with wet hands or while standing in water.
* Keep a flashlight or battery lantern near the breaker at all times.
* Reset breakers one at a time.
* If one keeps tripping after reset, something’s wrong. Call a licensed electrician.
5. Using a Generator? Know the Rules.
If you’re running a generator, follow safety protocol.
* Set it up outside— never in a garage or near vents.
* Plug devices directly into the generator unless you have a transfer switch installed.
* Let it cool fully before refueling. Hot engine +gas = explosion risk.
6. After the Storm: Walk the House
Once the storm has passed and lightning has not struck within 10 miles of your home for 30 minutes, do a walkthrough.
* Sniff for weird smells.
* Check for melted outlets, scorch marks, or anything that looks off.
* Check your breaker panel again.
* If something doesn’t look or smell right, or breakers keep tripping, stop and call a licensed electrician ASAP.
You don’t have to be an expert. Just take simple steps, in the right order, before the storm hits. Taking these steps will save you time, money, and a potential electrical fire.
Learn more about our Power & Protect Promo bundle to protect your home’s electrical system and gain peace of mind today!
Did you know that electricity flowing through a wire can create an invisible magnetic field? Well, it can! Try this project to create your own, low voltage electromagnet! To get started, open our How To Sand Enameled Wire page for reference and follow the instructions below! Be careful to never touch exposed wire and be sure to disconnect your electromagnet when you’re finished playing with it to avoid overheating the wire and battery. Always ask for help from your adults when handling electricity!
We’d love to see your completed projects! Email us ( admin@dunmanelectric.com) a photo of your electromagnet in action with your name and age to enter our monthly raffle for a Snap Circuits Explorer kit!
Today, we will be exploring the Lorentz Force and how you can use it to create your very own simple motor using electricity and magnetism! All you need to get started is 18 gauge copper wire, 1 AA battery, 1-2 disc magnets, wire cutters, and some pliers! Remember to ask an adult for help with cutting your wire!
We’d love to see your completed projects! Email us ( admin@dunmanelectric.com )a photo of your homopolar motor with your name and age to enter our monthly raffle for a Snap Circuits Explorer kit!
In today’s project you can get your hands dirty and learn about circuits at the same time! Follow our step-by-step instructions to create your own dirt battery using just dirt, copper wire, galvanized steel screws, an ice tray, LED diodes, and….a lemon?
We’d love to see your completed projects! Email us ( admin@dunmanelectric.com) a photo of your dirt battery with your name and age to enter our monthly raffle for a Snap Circuits Explorer kit!
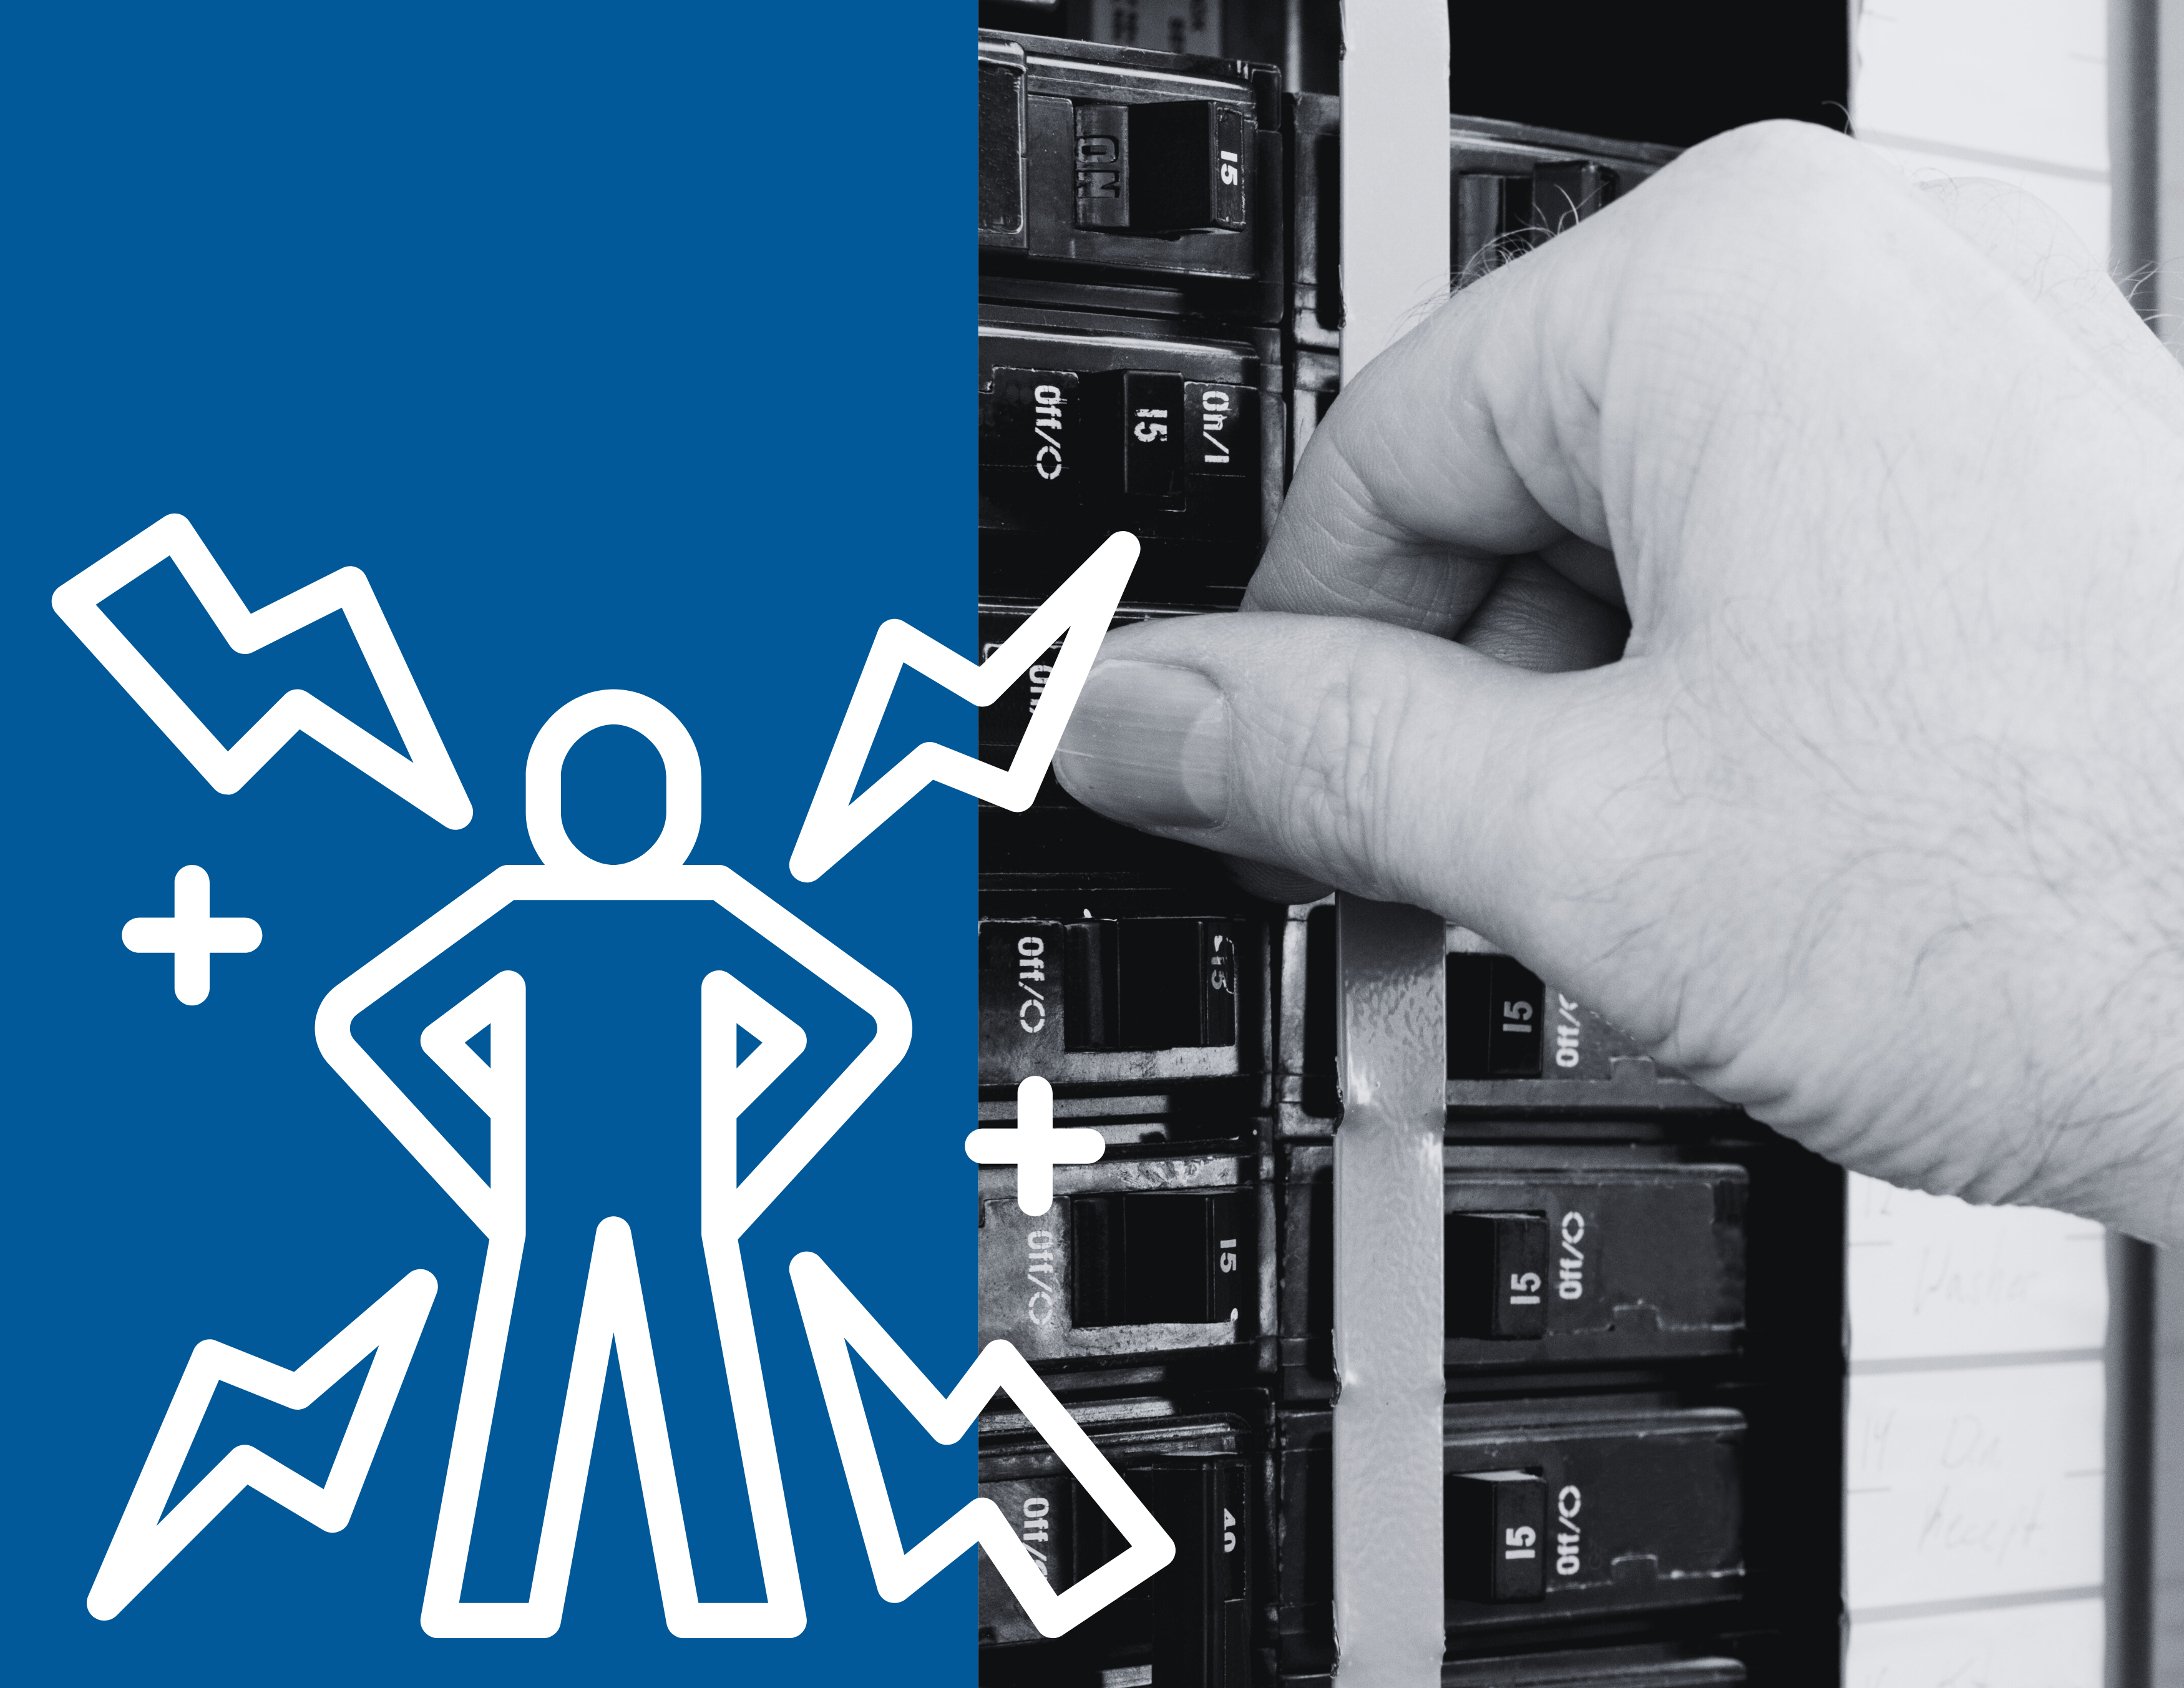
A circuit breaker is a safety device in your electrical panel that automatically shuts off power to a specific circuit when it detects an overload or fault. Think of it as a guardian of your home’s wiring. If a breaker trips, it’s doing its job—stopping electricity before it can cause overheating, damage, or even a fire.
Circuit breakers replace older fuse systems and are now standard in modern homes. Each breaker is connected to specific areas or appliances in your home: kitchen outlets, air conditioners, lighting circuits, etc.
How Does a Breaker Work?
Breakers are designed with thermal and magnetic mechanisms that sense unsafe conditions:
Thermal Trip (Overload Protection): A bimetallic strip heats up and bends as current exceeds safe levels. This bending eventually trips the switch.
Magnetic Trip (Short Circuit Protection): A sudden surge, such as from a direct short, activates an internal electromagnet that instantly trips the breaker.
Each breaker is rated for a certain amperage—commonly 15, 20, or 30 amps. Exceeding that number, even momentarily, will trip it.
Why Do Breakers Trip?
Some common reasons include:
Overloaded circuits – Too many devices on one circuit (e.g., space heater + microwave).
Short circuits – A hot wire touches a neutral or ground, causing a surge.
Ground faults – Similar to a short, but involves unintended contact with a ground path.
Worn-out breakers or wiring – Age, damage, or improper installation can cause nuisance trips.
If a breaker trips once, it may just be a fluke. But if it happens again, there’s likely a deeper issue.
How to Safely Reset a Tripped Breaker
If your power goes out in one part of the house, follow these steps:
Find your electrical panel. It’s usually in a garage, utility closet, or outside.
Look for a breaker that’s in the “off” or middle position. A tripped breaker will often look slightly out of line with the others.
Firmly switch it to the “off” position. Then back to “on.” You must do this in two distinct steps.
Test your power. If it comes back on, you’ve successfully reset it.
⚠️ IMPORTANT: If the breaker trips again immediately, do not keep resetting it. You’re likely dealing with a more serious issue. ⚠️
When to Call a Licensed Electrician
Here’s when it’s best to leave it to the pros:
A breaker trips repeatedly, even after unplugging devices.
You smell burning or hear buzzing from the panel.
The panel is hot to the touch or shows corrosion.
Lights flicker or dim when major appliances start.
You don’t know what’s causing the trip, or just want peace of mind.
Remember: Breakers trip for a reason. Continuously flipping them back on without fixing the root issue can be dangerous.
Many homeowners don’t know which breaker controls what. Take time to label them clearly—this saves time during an outage and helps electricians work more efficiently when needed. This is also a service we offer here at Dunman Electric. Or you can read our article on how to label your panels on your own.
Whether you’re dealing with a stubborn breaker, need panel upgrades, or just want a professional inspection, Dunman Electric has you covered. Our licensed electricians bring decades of experience, and we’re happy to help you learn how to keep your home safe and efficient.
📞 Call us today or book online for prompt, reliable service.